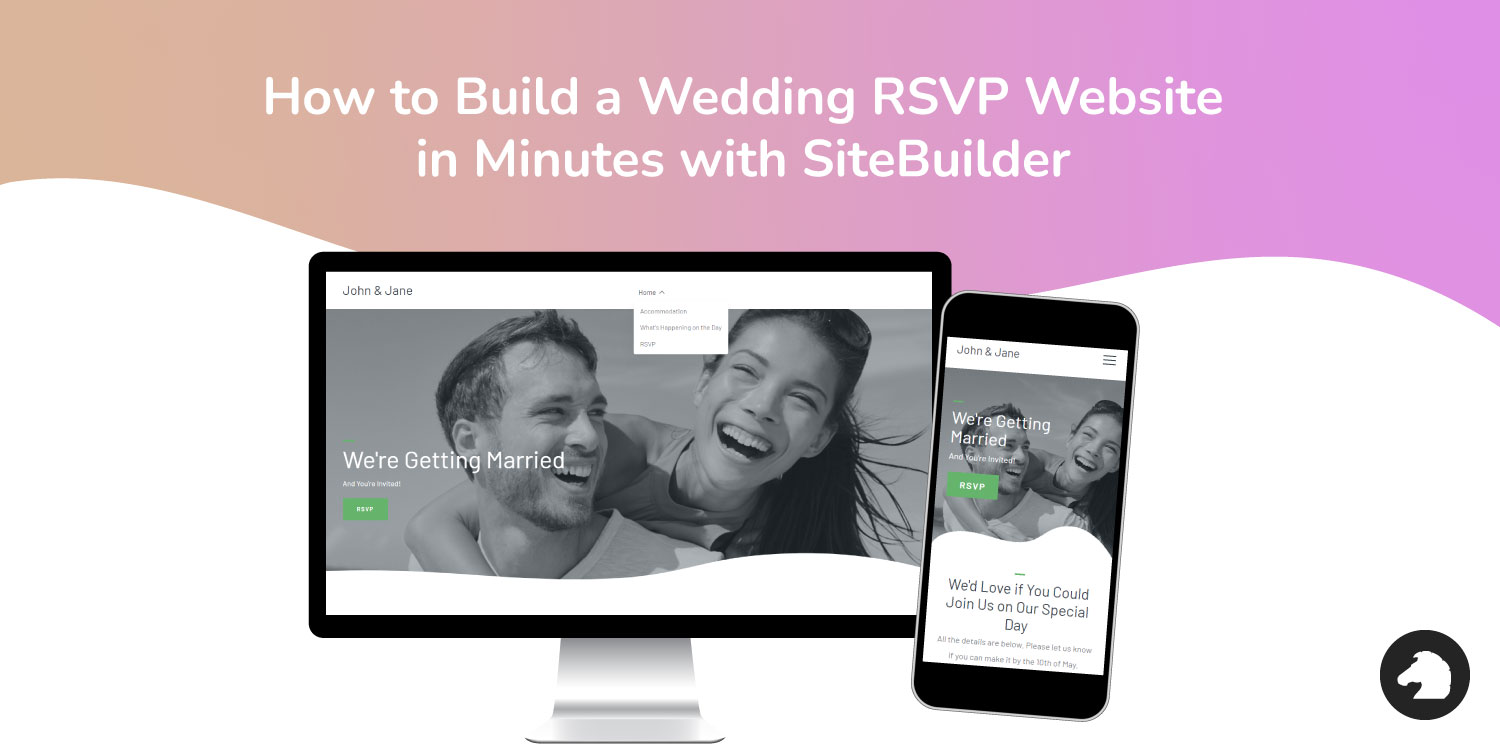
Planning a wedding? Save money and paper with SiteBuilder! You can quickly and easily send out your wedding invitations and collect RSVP responses. Don’t worry about signing up to an RSVP website that has a bunch of expensive plans and doesn’t have everything you’re looking for, SiteBuilder has all you need to make planning your special day easier.
Some Benefits of Using SiteBuilder:
- It’s super easy to use, just click and drag.
- It’s fully customisable.
- You can edit your website on your phone while you’re on the go.
- Add as much information about the big day as you need.
- Cater to all of your guests and find out if anyone has any dietary and hotel room requirements.
- You’re not restricted to receiving a certain number of invites, there’s no limit.
So, here’s how to do it:
1. Get Set Up with a Custom Domain Name Then Get SiteBuilder for Half Price
Log in to your account and register a domain with us such as youreinvited.ie, or something that’s unique to you and your fiancé. On our website, get a Basic SiteBuilder plan and take advantage of half price for the first year. To edit your website, simply log into your dashboard and click ‘Manage’ beside your SiteBuilder service, followed by ‘Log In To Control Panel’.
2. Build out Your Home Page
Choose from a range of content types such as text, images and buttons to give your invitees a brief description of the main details of the wedding. Just click anywhere on the page and select ‘Add Content Here’.
3. Add More Pages and Folders as Needed
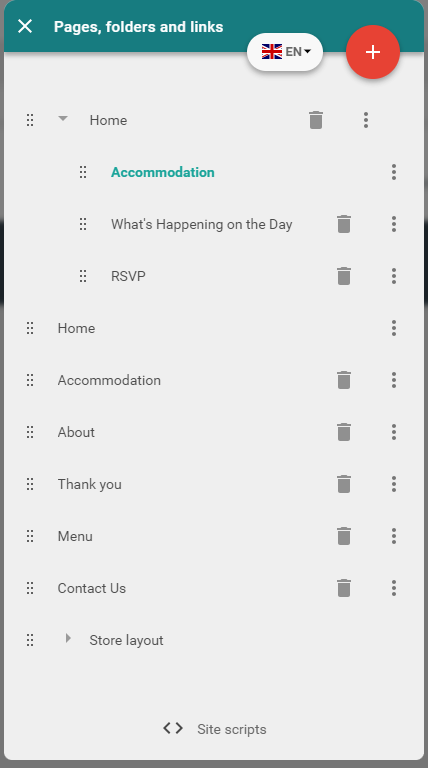
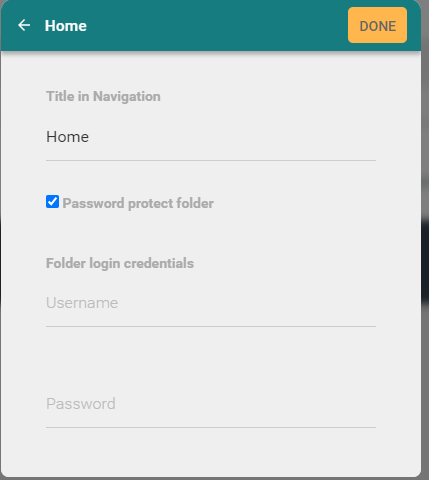
Add new pages then set the folders to be password protected. This means that only people with an invite and password can access the pages, so they're protected from anyone without an invite. We suggest adding a page about the agenda, accommodation and the RSVP page. You can always edit, delete or hide a page. Move the pages around to change the order on the navigation menu.
4. Insert and Edit Your RSVP Form
In 'Add Widgets' look for the ''Custom Form' feature and drag it to anywhere on the page. You can also add a gallery of photos, a divider, a PDF with more information, and any other features that you require.
You'll get an email whenever someone fills out the form, so you can gather a list of people that have responded Yes to going and take any more information like dietary requirements. If you want to make more back-end changes to your website such as adding a Favicon, click 'Menu' and go to 'Settings'.
5. Change the Design of Your Website
At any time, you can edit the theme of your website to the colours and font that you like.
6. Preview and Publish
When you're all done, click 'Preview' and see how the website looks. Ensure to check how optimised the website is for mobiles. When you're happy, click 'Publish' and share the domain with your invitees.
That’s it! You’ve built your own RSVP website catered to your wedding and your guests. After the wedding, you could add your photos and videos to the website and allow your guests to do the same, so you can gather your memories forever.


