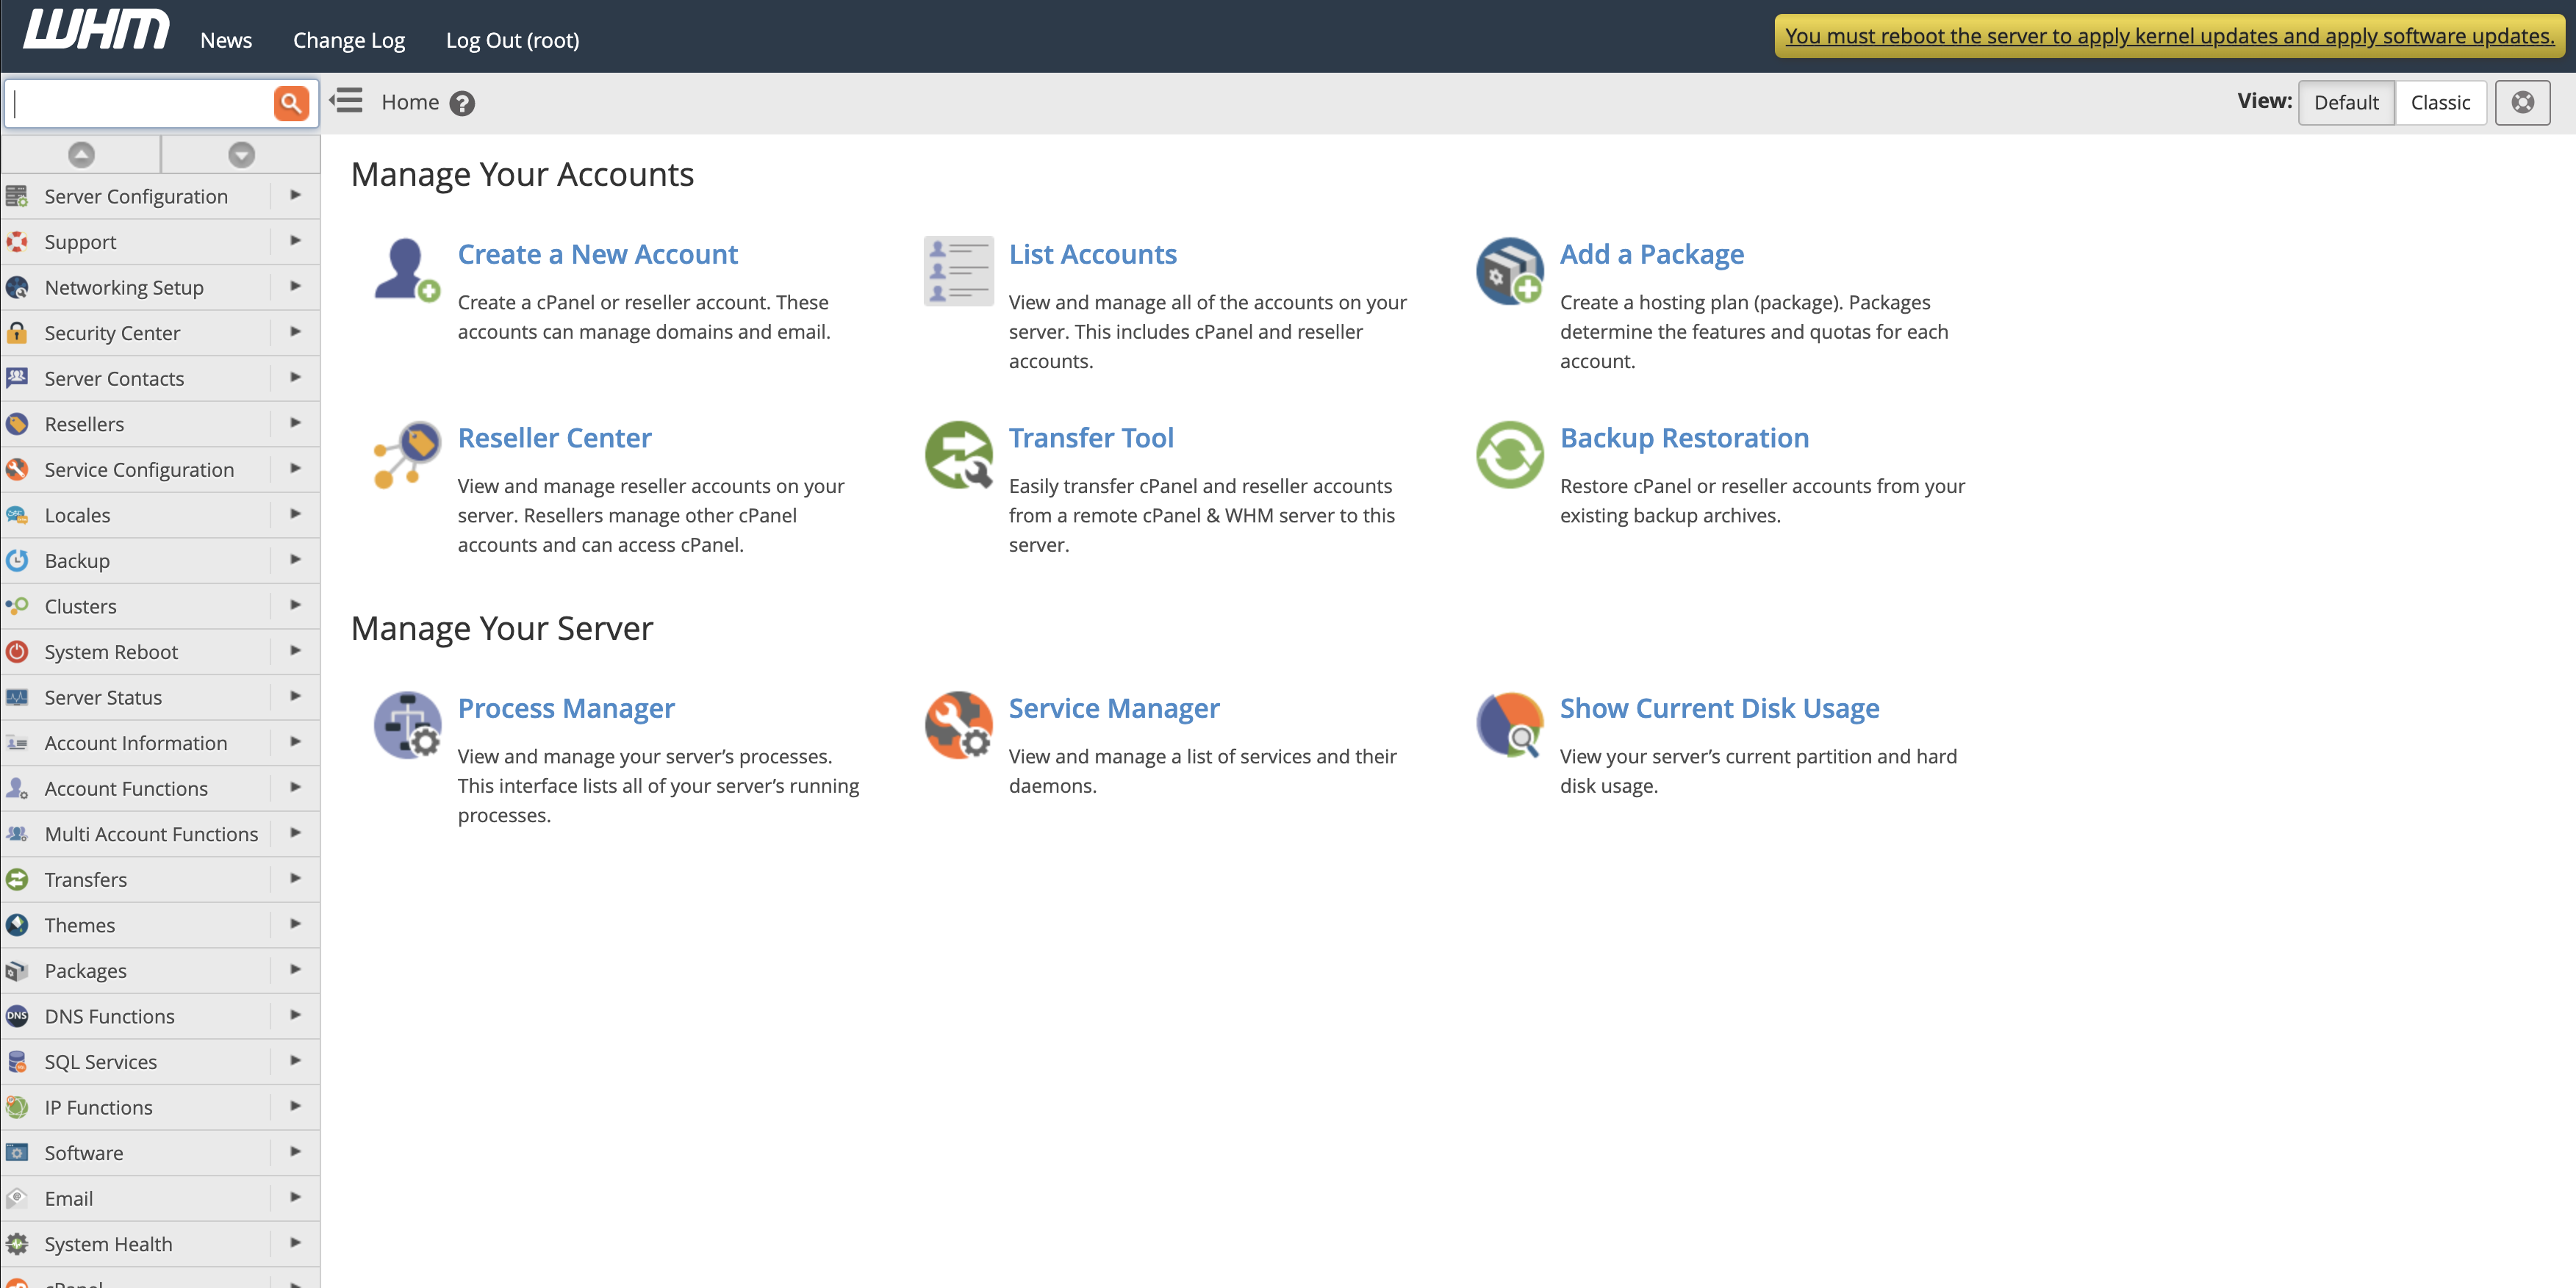
When your dedicated server goes live, it’s an exciting moment, especially when you switch on your main websites. But the default settings on your server might not be the best settings for your production environment. You’ll need to change some things to make sure your websites run smoothly but also so that they don’t go down because of arbitrary limits that are set by default.
Just a word of warning here, this post is going to go into the weeds a bit – and it will be a bit technical. I will try to give examples for why you would want to change each of these settings to provide context! Some of these settings will require a visit to the terminal/command line. These tips are for a server I have the most experience with – running WHM/cPanel on a CentOS Linux operating system.
You’ve been warned! Anyone reading this part of the Blacknight Engineering Department should probably look away now.
PHP-FPM Pool Settings
This one is hard to explain. PHP-FPM handles PHP requests at the server level. The problem this can cause is that the default limits are set rather low, so if PHP – one of the key components to running a website – gets overloaded, the server will turn off that website/domain/installation, so it doesn’t overload the rest of the server. This is less of an issue if you’re only running your websites on your server. I ran into issues using the email sending tool Sendy; it would make too many requests at once and take the whole instance down. This is fixed by changing the PHP-FPM Pool Options in the MultiPHP Manager. The default is 60 requests a second. I changed mine to 250 and haven’t had any issues since. But our engineers do not recommend setting this too high, as you don’t want an errant website to bring your whole server down.
PHP Upload Limits
By default, cPanel/WHM limit file uploads to 2mb. I get why – it’s a security thing, and you definitely don’t want random users uploading large files to your server. But 2mb is pretty useless in practical use. Try uploading a podcast or large PDF; it just won’t work. I recommend setting the file size limit to something that works for you. If you’re still worried about users uploading large files, set limits at the app level (like in WordPress, for example), rather than the server level. To change your maximum file size limit, go to the MultiPHP INI editor and change the file size parameters there. A better size limit is 16mb, but if you’re uploading podcast or other large files, you’ll have to set it higher.
Setup and Run AutoSSL
Your server must be a secure and safe place, not just on the backend but on the frontend for your customers. That’s why it’s good practice to secure the connection between your website and your customers with an SSL (secure socket layer). You must have SSL’s installed on all your websites these days. If you do not, the major web browsers will warn users to stay away from your website. My install of WHM/cPanel uses SSL certificates from Sectigo (there are other providers). You can control it for all users on your server. The main function is AutoSSL – this will run on a regular schedule and automatically install missing SSL certificates on your hosted domains. You can also run it manually if you need a certificate to work between auto-runs. Be careful though, if you have a special SSL outside of the default ones, it can break them. There’s a function in AutoSSL to avoid this.
Activate ImunifyAV
ImunifyAV is a new malware scanning tool that’s included for free with cPanel Version 88 and onwards. Once you activate this in your WHM Panel, it will scan all files on your server and identify malware and malicious code. It makes it easy to find troublesome files and code that might compromise your server. The free version is enough to help you find the bad files, but there is a paid upgrade option that offers automated cleanup and a few other features.
Two-Factor Authentication
Two-factor authentication keeps your server more secure and should absolutely be turned on. Having it turned on it like needing two separate keys to get into your house. You can use Authy, Google Authenticator, Duo Mobile or Microsoft Authenticator with WHM/cPanel. It is kind of annoying to always have to enter the code when I log in to my server, but as someone who’s been hacked due to weak one-factor passwords, I couldn’t sleep well without it!
Install Softaculous
This isn’t really a setting, it’s a free addon that has a paid upgrade. Softaculous is a graphical software installer that runs in cPanel and can install hundreds of PHP scripts quickly and easily. There are other tools that do this, but Softaculous is the one I use, so that’s the one I’m comfortable recommending. There’s a free version, but if you buy a license (which is $24 a year), you get a lot more scripts and support. You have to install it at the WHM level, and then it will be available in every cPanel instance that you create. It’s handy for installing WordPress but also installing the software you’ve never used before to experiment with. It really simplifies installation. It also makes removing software you no longer need a breeze.
Setup Backups
You must have a backup strategy. Thankfully, WHM/cPanel has several backup options available. You need to set you your server in WHM to automatically backup. But you cannot just back up to the server itself. One, it will quickly eat up your free server space. Two, you need to store backups in external locations, preferably more than one. Blacknight can help you with this with Acronis backup solutions. But you can also easily set up WHM to backup to another source like Amazon S3 or Backblaze.
Install Engintron
Many of the big web hosts now use Nginx to manage loads, proxy things and act as HTTP caching. It helps power large websites and makes them run more efficiently. While most WHM/cPanel servers are fine out of the box, you can usually make them perform better by installing Nginx. To do this with WHM/Cpanel, the easiest way is to install Engintron, a free tool that installs it at the server root. Once you switch it on, you don’t really need to do anything else (as always there are more tweaks for the technically minded). You have to install it via the command line (instructions here).
Setup SSH Keys
You should not use FTP to access files and interact with your server. It’s very insecure. You should connect to your server via SSH, SFTP or FTP with TLS. SSH is the most secure option, and this gives you terminal access and is encrypted on both ends. You only need to do this once (as long as you don’t ‘lose the keys’), but when you set up your keys, you can access things securely. You can do this from WHM but also on cPanel itself. You can also create keys for other people and control their access.
Setup Separate cPanel Accounts for Each Production Environment (and set one up for just testing things)
When you set up a website or production environment in WHM, it should be for one website/project/etc. Don’t set up a bunch of websites in the same cPanel account. Setting up separate ones isolates them from each other. It controls access but also controls whether or not it can take down the rest of your server. You can impose limits on bandwidth and processing power. So, the best practice is to set a new one up for each project. I would also set one up for just testing things (you can move websites between accounts easily).
Do you have your own dedicated server? What settings do you recommend changing first when you come online? Let us know in the comments!
Are you interested in your own dedicated hosting solution from Blacknight? Get in touch with our sales team, and we can custom build for you.
